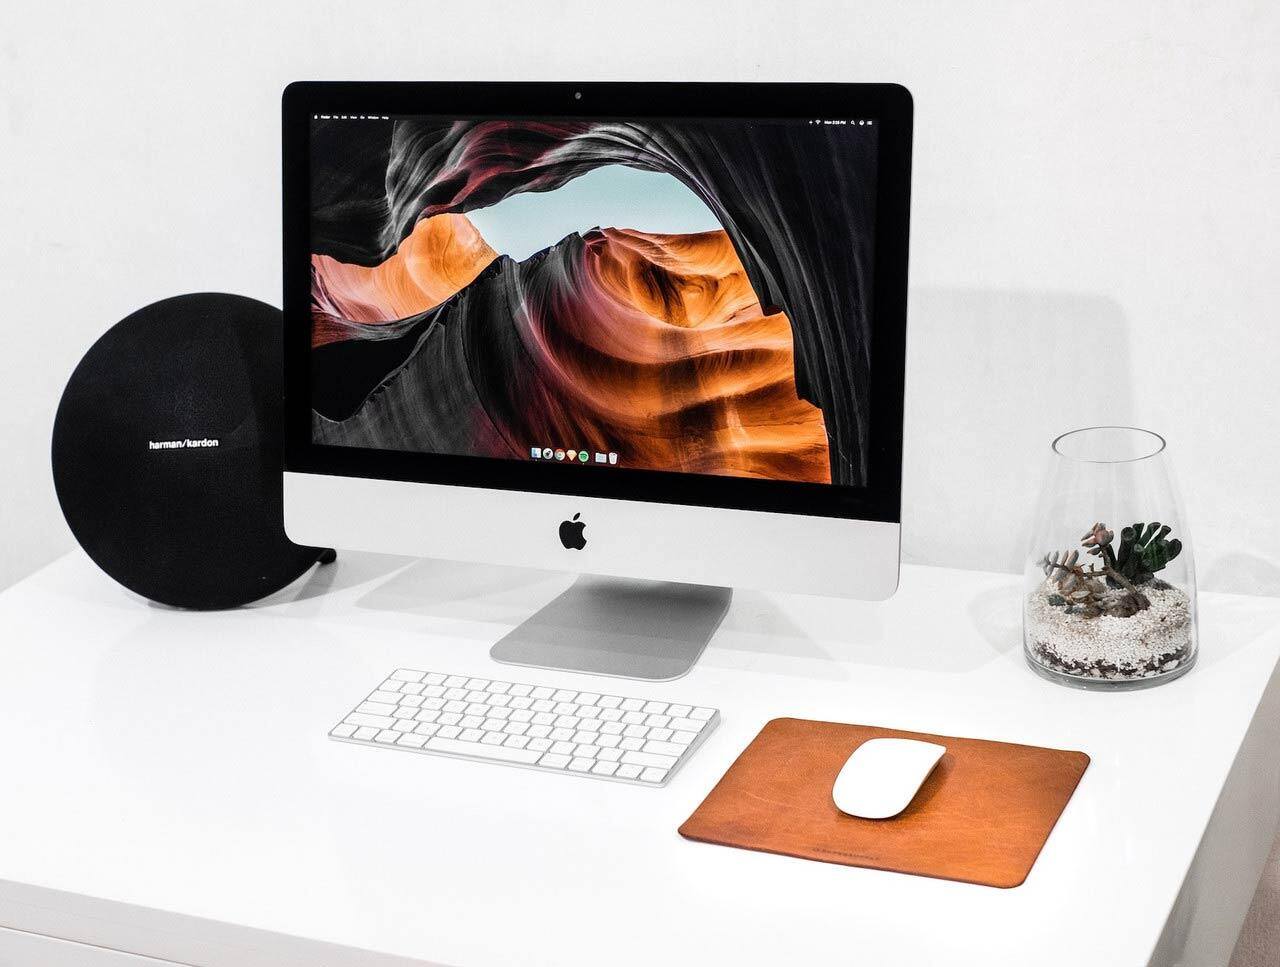
10.14 Mojave is the next major revision to Apple's Macintosh operating system and is due for release on September 24. The much-awaited version promises many improvements to its user interface, not least those which help to harness improved creativity and productivity for its users.
There are essentially two options available to Mac users who want to experience all that is possible with macOS 10.14 Mojave:
- Upgrade using a standard installation package
- Or, perform a clean installation using a bootable USB drive.
This article will guide you through the process of performing a clean installation.
Why Perform a Clean Installation?
Over time, a well-used and much-loved Mac can develop a number of strange behaviors and quirks. A fresh installation allows you to completely erase these annoyances while also reclaiming disk space that may be taken up with junk files and other data you no longer need.
As this procedure will wipe all data from your Mac, you should perform a full backup of your machine before you start. This will ensure you can restore your Mac back to its original state if the installation goes wrong.
What You Will Need
The procedure below will work with the latest public beta version of Mojave, and will also work with the final version once released. You can get access to the beta version by enrolling in the Apple Beta Software Program.
You will also need a USB thumb drive with 8GB or more capacity in USB-C or USB-A, depending on the connections on your Mac. The installation will take approximately 1-2 hours.
Is Your Mac Compatible?
10.14 Mojave is quite a major overhaul of the previous macOS, High Sierra, and introduces many new features and improvements. Unfortunately, just because your Mac is able to run High Sierra, it doesn't mean it will be compatible with Mojave.
Here is a list of the Mac models that are compatible with the new macOS:
- MacBook Air (Mid 2012 or more recent)
- MacBook Pro (Mid 2012 or more recent)
- Mac mini (Late 2012 or more recent)
- iMac (Late 2012 or more recent)
- Mac Pro (Late 2013, plus mid-2010 and mid-2012 models)
- MacBook (Early 2015 or more recent)
- iMac Pro (2017)
If you are not sure when your Mac was released, you can check on your system. Open the Apple menu and select the About This Mac option. The Mac model name will be listed under the OS X version number. If this model name corresponds with the list above, your Mac is compatible.
Performing a Clean Install on macOS 10.14 Mojave
As mentioned previously, you will need a copy of macOS Mojave. You can download this by enrolling in the Apple Public Beta Program or directly from the Mac App Store once it has been released.
- Once the installation file has been downloaded, you can close the window by clicking the Quit Install macOS option.
- Next, navigate to the Terminal app which can be found under Applications/Utilities/Terminal.
- Type sudo at the Terminal command prompt. This stands for "superuser do" and it allows you to run commands as an administrator.
- Next, open a Finder window. Locate the Applications folder and right-click the macOS 10.14 installation file you downloaded earlier. Select Show Package Contents from the drop-down menu.
- Navigate to Contents/Resources in the folder structure of the installer package.
- Locate the createinstallmedia file and drag it to the Terminal window.
- Type --volume followed by a space in the Terminal window.
- Select the Finder window you opened earlier to bring it to the front. From the Finder menu bar, select Go -> Go To Folder.
- Type /Volumes into the Go to the folder input box and click Go.
- You will now need to connect your USB thumb drive to your Mac.
- Drag the icon for the USB drive from the Finder window into the Terminal window.
- Next, press your keyboard's Enter key to execute the completed Terminal command.
- You will now be prompted to enter your administrator password.
- When prompted, type Y on your keyboard and press Enter. This command will create the bootable 10.14 Mojave installer on your USB thumb drive. The process takes a few minutes to complete, so don't close any windows or press any keys while it is running. You may be asked if you want to install Xcode during this process. You can safely select Not Now without affecting the installation.
- Once the process has completed and your USB installer is ready, you can restart your Mac by holding down the Option key until you hear the reboot sound.
- Next, use the arrow keys on your keyboard or your mouse pointer to select Install macOS Mojave from the drive list.
- When your USB drive has booted, you can select Disk Utility from the Utilities window. Select the startup drive for your Mac from the list and click Erase.
- Once your Mac's startup disk has been formatted, go back to the open Utilities window and select Install macOS. When asked where you would like to install the new OS, select your recently erased startup drive. Complete the installation by following the onscreen prompts.
