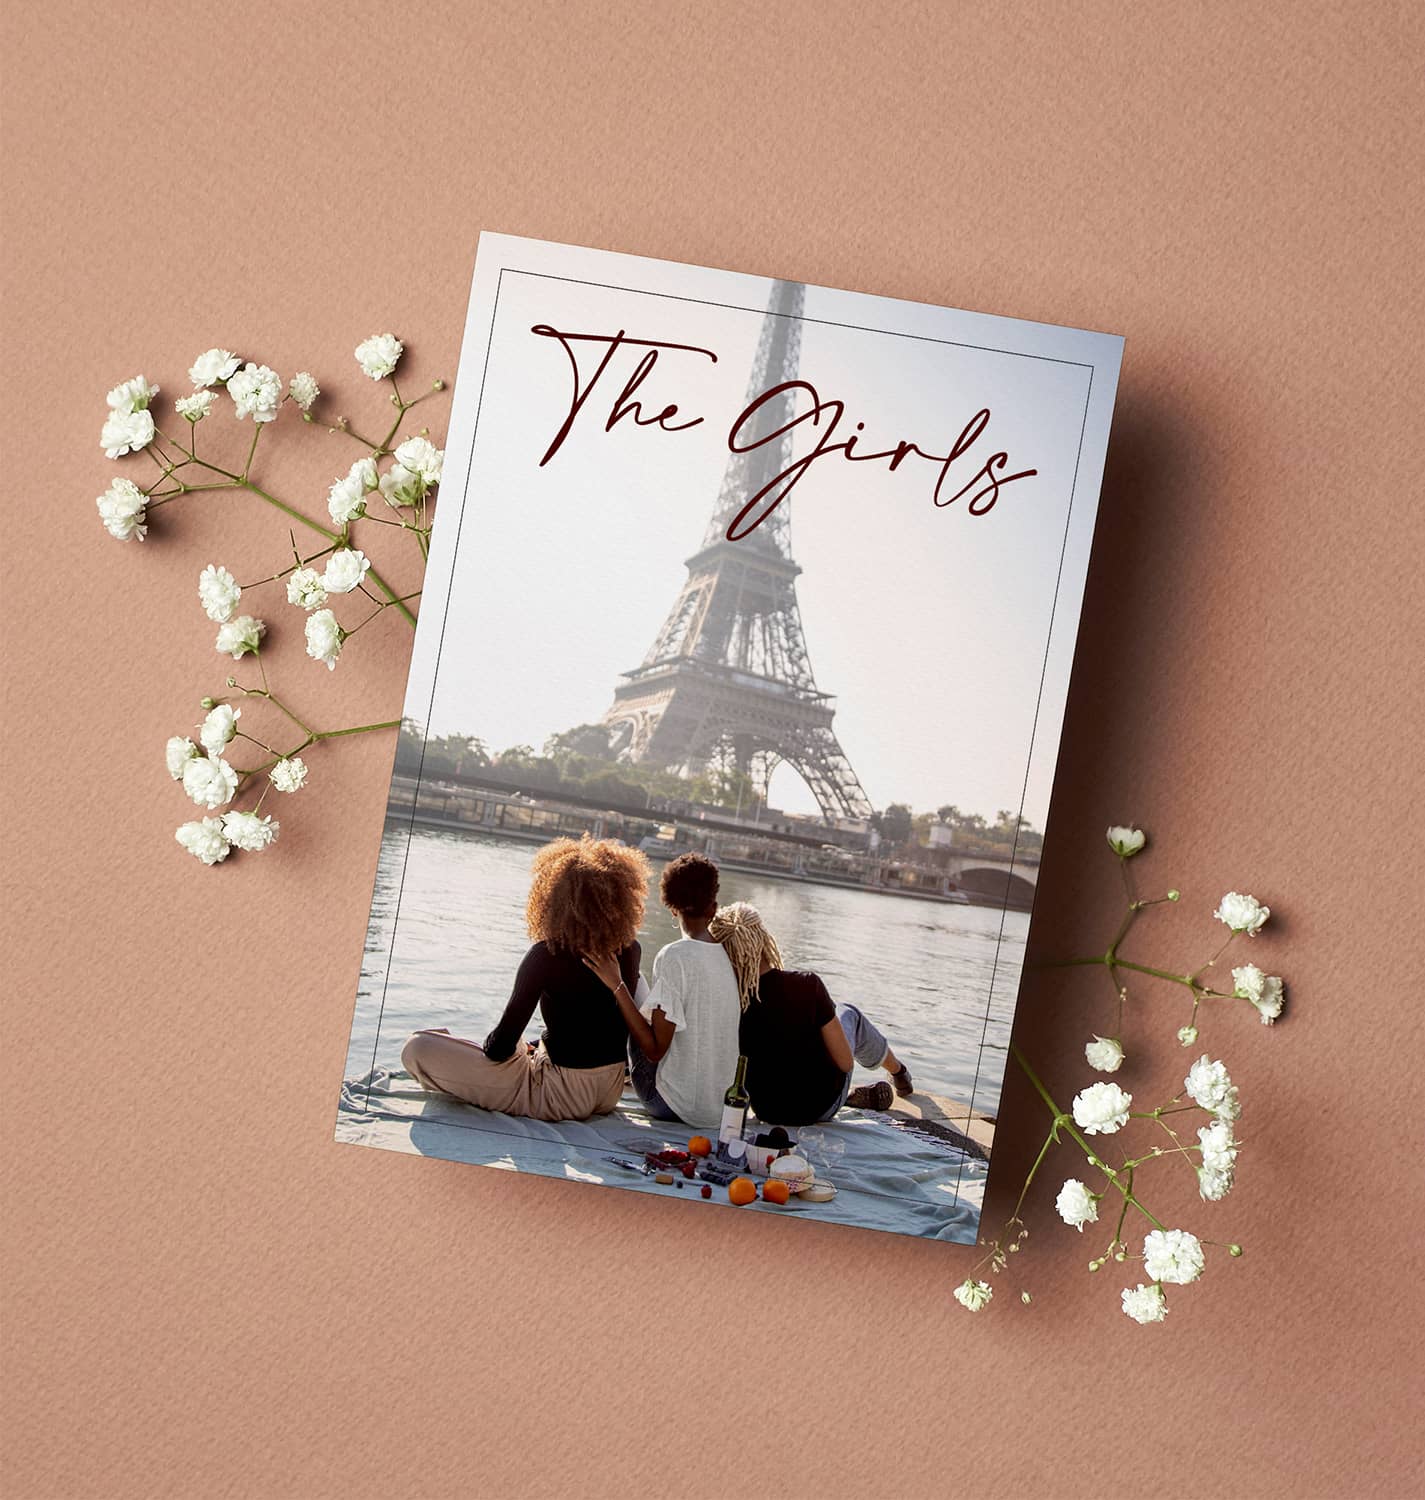
Celebrating your platonic love among your ladyfriends should be a priority more than ever this year. And while the nature of Galentine’s Day’s festivities may look a little different than in previous years, there’s one classic way to send some love and spark a conversation. Using the ideas below, see how you can turn your photo cards made with Mimeo Photos into postcards to drop right in the mail.
1. Use a Photo of Your Girl Group
This is the perfect way to surprise your girlfriends outside of the likely countless group chats you have over text, Instagram, and other channels. Simply find your favorite group photo and add it to the front of your postcard. This could be a throwback favorite for your day ones, or a more recent group outing.
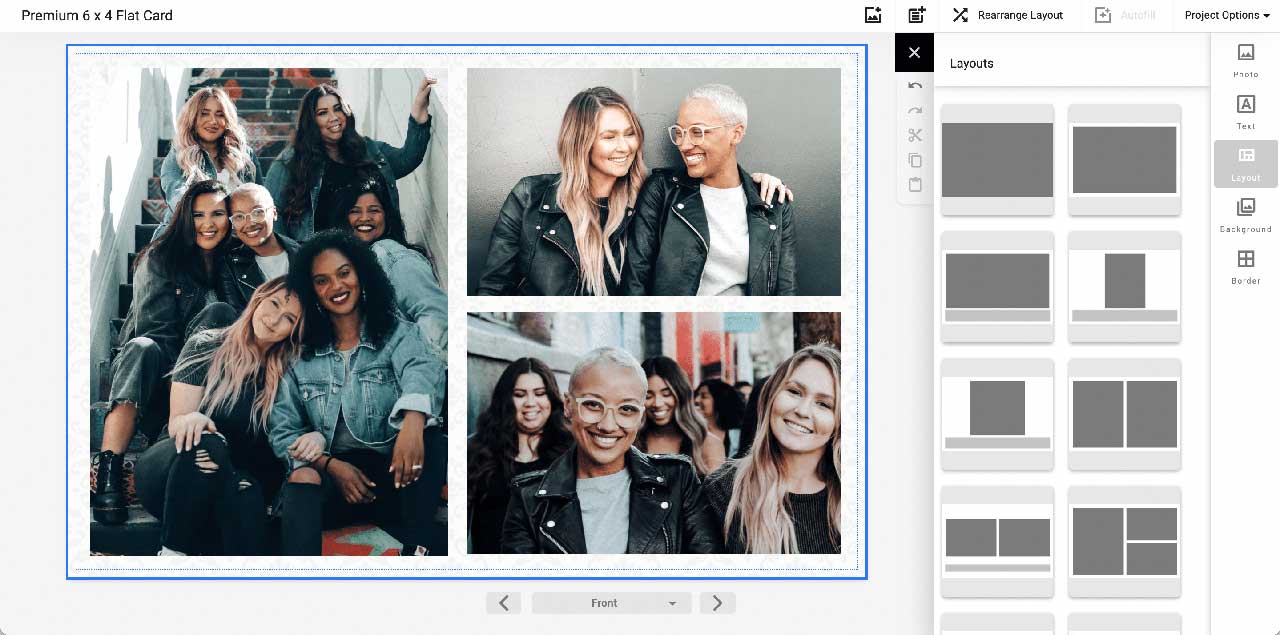
Can’t find one photo of everyone? Use our photo layout tool to create your own collage. This Galentine postcard is guaranteed to be their fridge favorite all year round.
2. Add a Quote, Saying, or Inside Joke
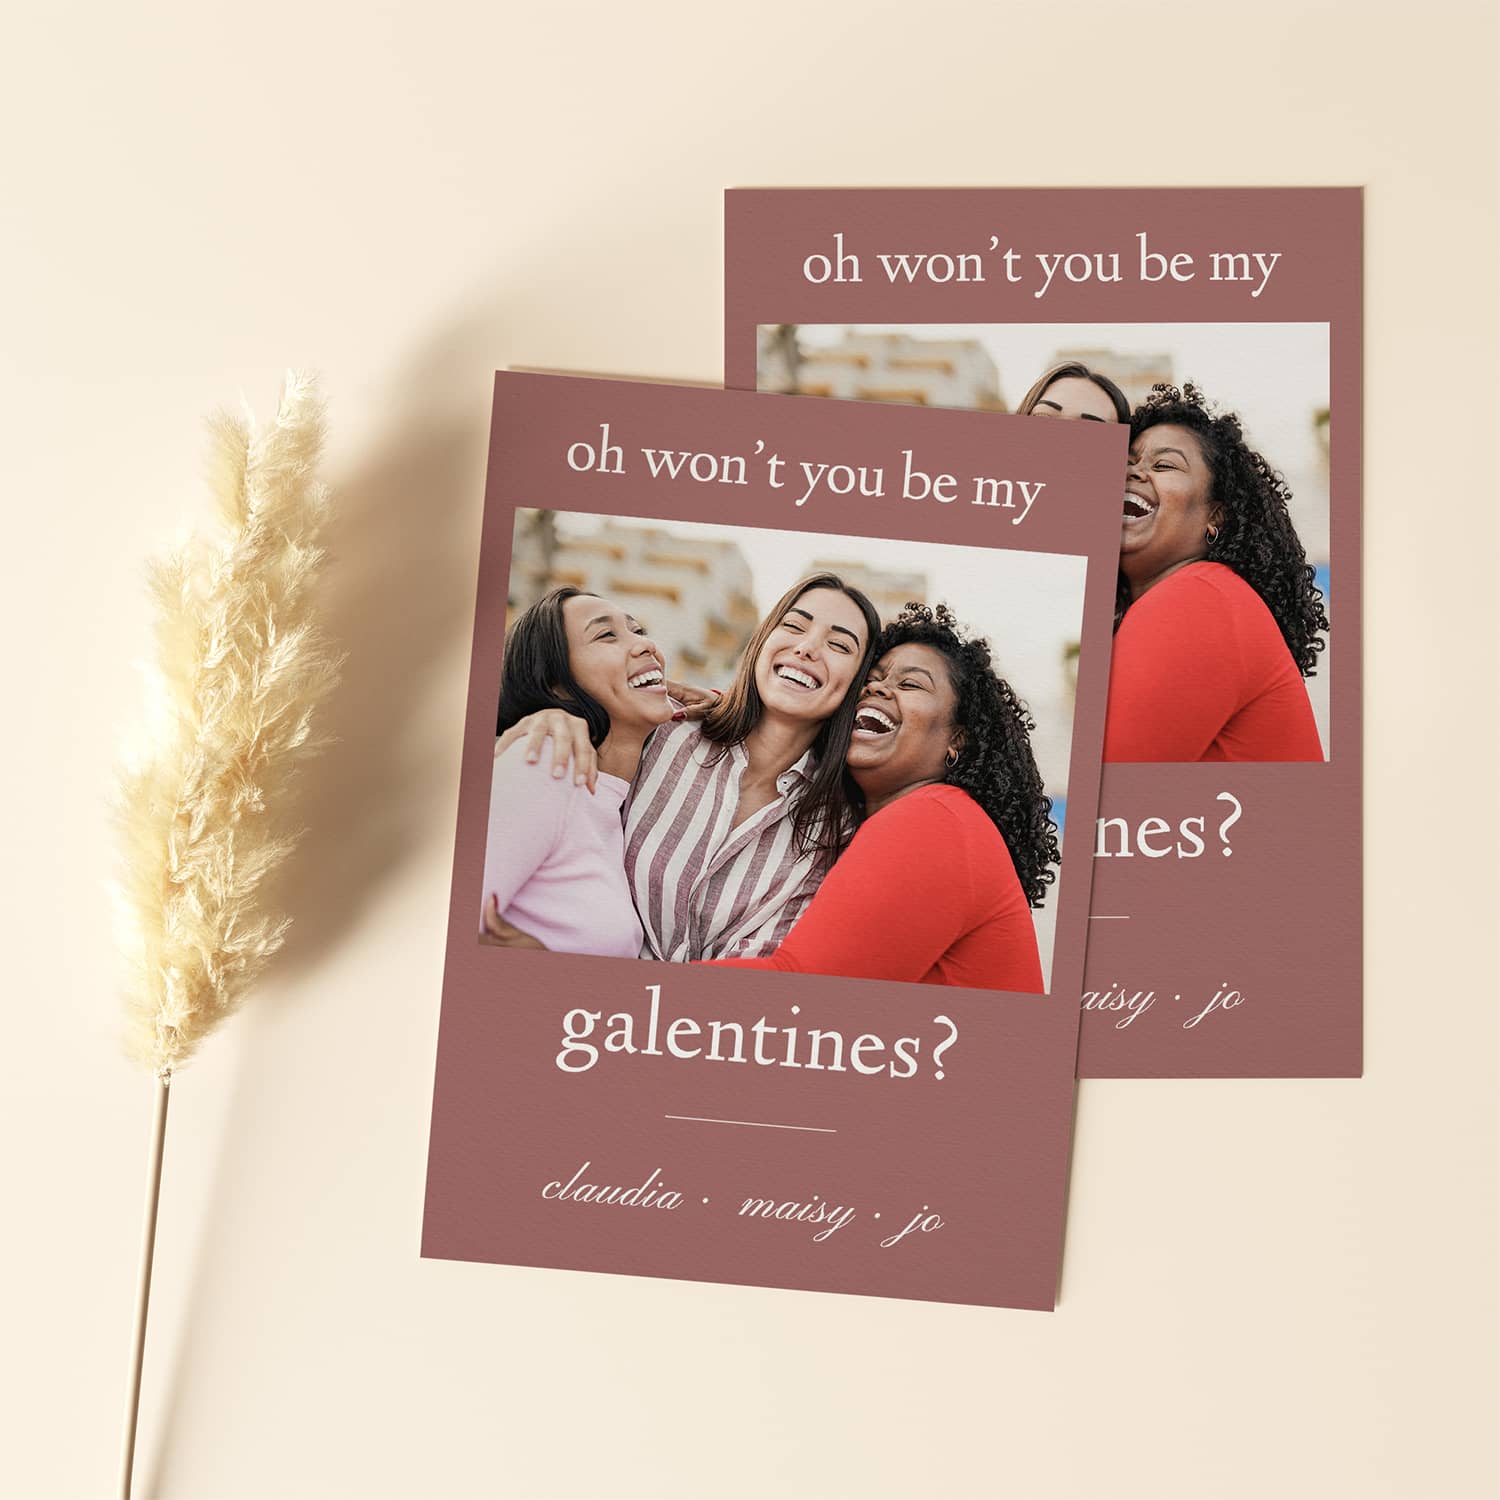
Make a bold statement by filling up the front of your postcard with text. The options are endless from classic Galentine’s Day greetings, powerful quotes, poetry, and even inside jokes. Here are a few simple ways to show your personality:
- Monochromatic: Use our color palettes to make a statement using the colors of your background and font.
- Capitalize: Hit that caps lock for short phrases that make a statement.
- Outline: Add a colored outline to super large text for an added “glow”.
3. Travel Back to a Place You’ve Visited Together
Throw it back to a place that’s worth revisiting. Take a photo from a trip your friend group has taken together and add it to the front of your postcard. Landscapes, road trip outtakes, and lakeside day trips all make wonderful greetings. Your Galentine’s will appreciate the connection they have with the moment you shared together.
Add text like “Wish We Were Here!” to really reminisce. Just know that your next group FaceTime will be overloaded with every “do you remember when…” from that vacation together.

4. Show Off Your Artistic Side
Can’t decide on an image that fits your mailing list? Scan your own artwork as your postcard’s background. From watercolors to charcoal sketches the possibilities are endless. We love this idea for its endlessly creative and one-of-a-kind outcomes. You can embrace the holiday with an homage to pancakes (looking at you, Leslie Knope) or with an elegant tribute of what womanhood means to you.
5. Honor the Place You Met
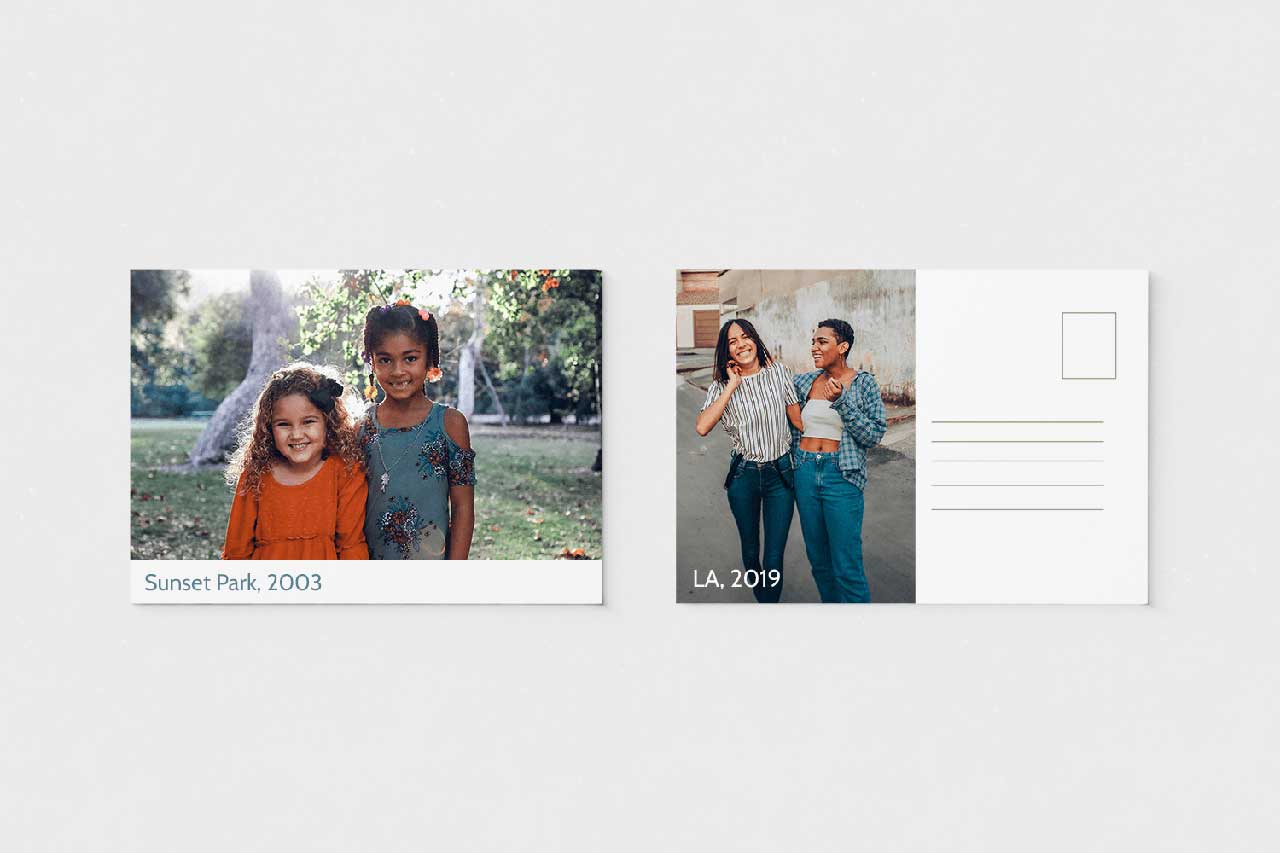
Grade school buddies or first job besties? Some bonds won’t break. For those friendships of a lifetime, surprise them with the location of where you met in their mailbox. Either scan in or search your digital collection from the “old days”, or take a screenshot of the location on a map.
6. Make a Word Search
Maybe there just aren’t enough words to demonstrate your gratitude. Use a free online word search maker to create your own puzzle consisting of a custom word bank. Create a general Galentine’s theme or words akin to your unique friend circle. When you’re ready, either copy and paste the word search puzzle or screenshot it and import it into your project as a photo.
Your mama friends will thank you for a fun break together with their kids.
7. Introduce the Newest Member of your Squad
Finally, do you have a new member joining your crew this Galentine’s Day? Introduce them face to face with a portrait of her — whether she’s a newborn or a fur baby.
How to Make Your Postcard
Here are some simple steps to take when assembling your postcard in our photo project builder.
- Select the flat landscape card option (we recommend our premium stock)
- Next, pick a theme. We suggest our “Focal Point” for a more classic look.
- Add your photos, text, and background to the front of the card.
- Leave the back of the card blank.
- When your printed card arrives, make out the address with the recipient’s name followed by their address on the rear right-hand side.
- Reserve a space for a letter stamp above the address in the top right corner.
- Using the space that’s left on the left-hand side, handwrite your personal message.
Ready to send? Our friends at Stamps.com are available to help you skip the line in person.
