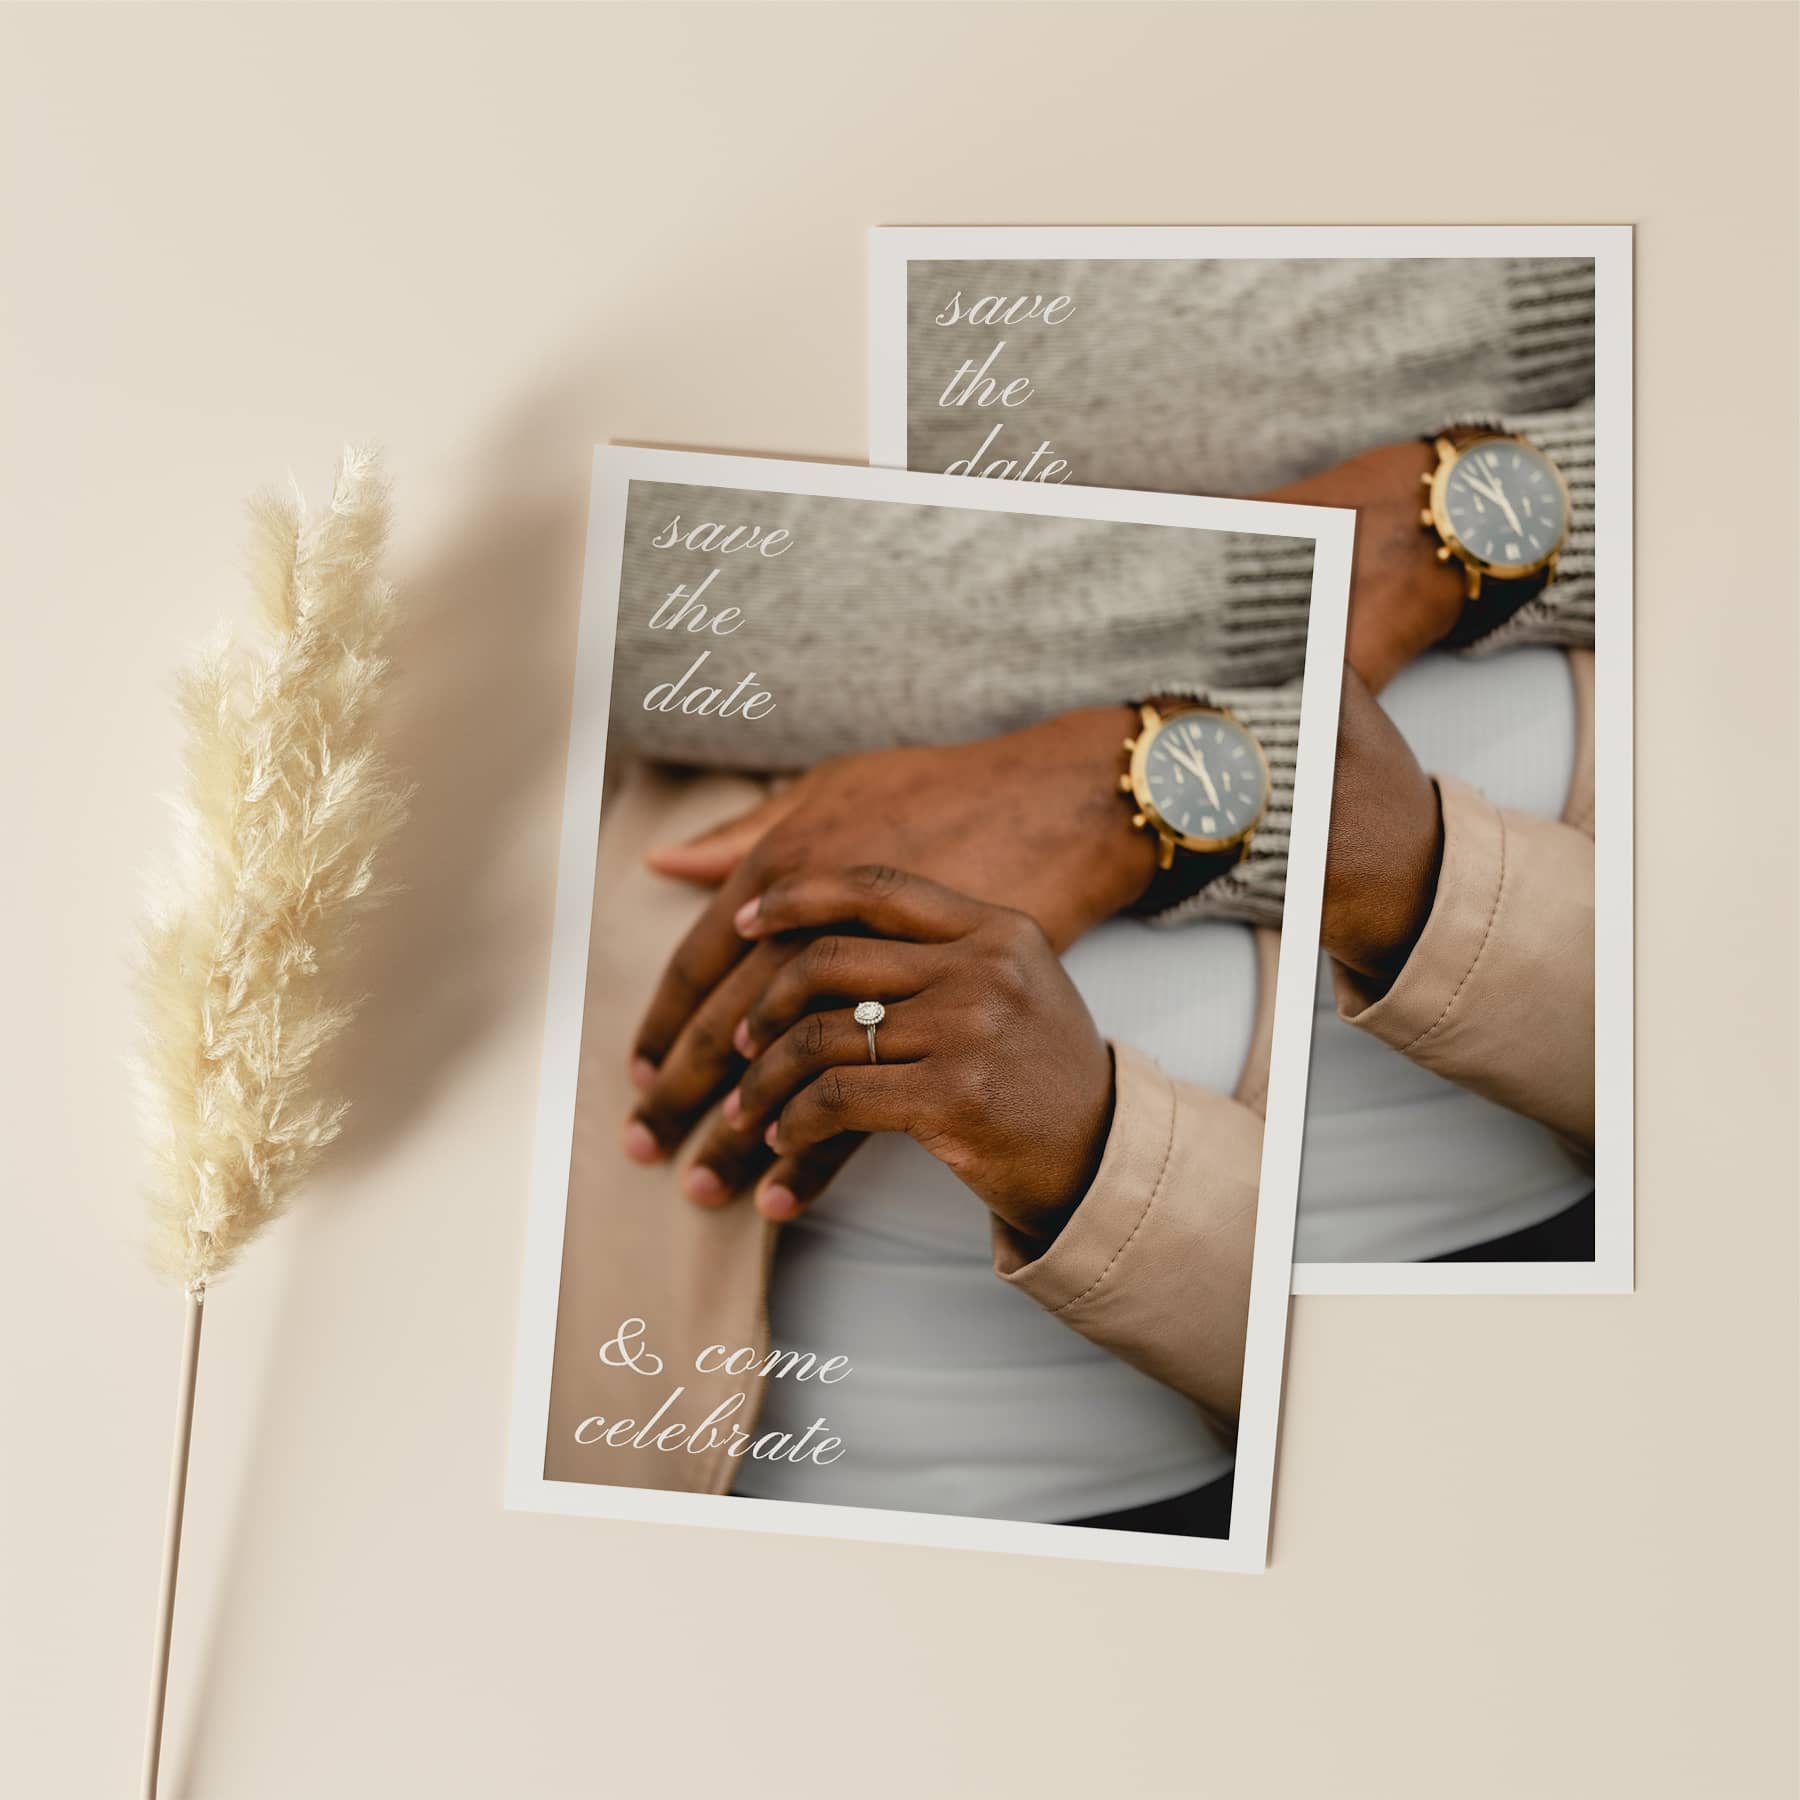
Invitations are an important start when planning your wedding celebrations. They are the first chance to introduce your guests to your theme, share important information, and start collecting RSVPs.
In the modern era, you don’t need to spend hundreds of dollars for a calligrapher to design your wedding invitations. Instead, it’s easy to create personalized invitations with your own photos using services like Mimeo Photos.
When planning my wedding, I knew I wanted to choose invitations that would reflect our personality and fit within our budget. The wedding invitation is your first chance to introduce your guests to your event, so it is important that they include elements of your theme, share important information, and make it clear how your guests should RSVP.
Since we had dozens of amazing photos from our engagement shoot, I decided I wanted to create a modern invitation that featured a photo of us, rather than spend hundreds of dollars for a calligrapher.
That’s why I decided to build a photo card in Mimeo Photos for our invitation. The Photos extension to Mac makes it really simple to create personalized cards - and I’m usually a PC user!
Here’s how I built our wedding invitation in Mimeo Photos:
Choosing Your Photos
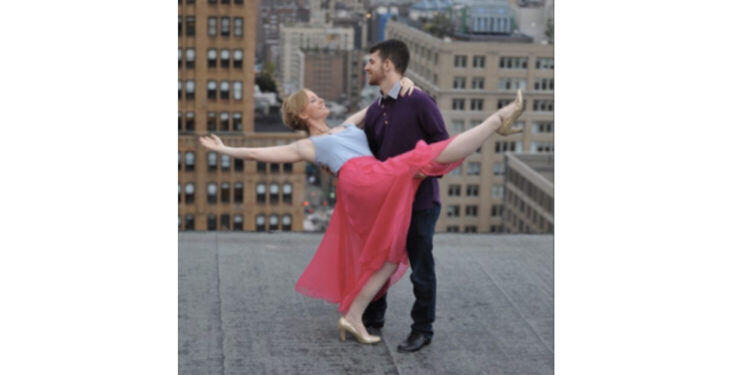
The first step was deciding what photo to feature. We were lucky enough to do an amazing engagement photo shoot with Joe Orecchio on a rooftop in Manhattan. He captured some great shots of our choreography for our first dance (which is a major feature in our wedding at the Capitol Theatre), so we chose a dramatic photo to grab everyone’s attention.
I also downloaded a background from Canva (a free graphic design service) for the text-side of the invitation that incorporates our “celestial” theme.
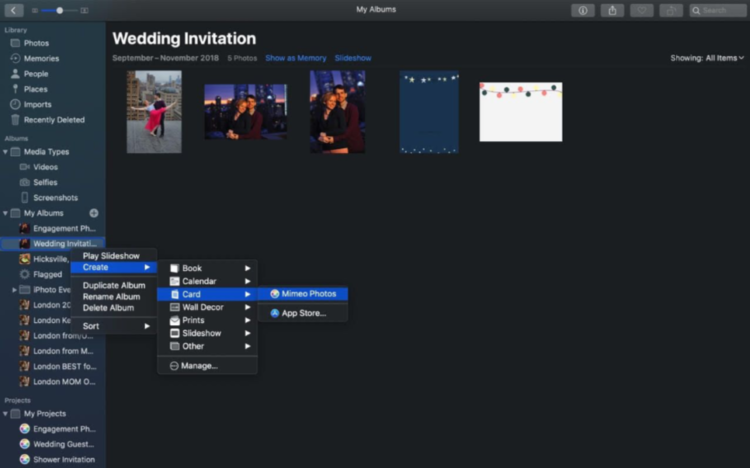
Create a Project in Mimeo Photos
Next, I added my photos to a new card project in Mimeo Photos. I chose a flat, portrait-oriented card, but you could also opt for a folded card to include more information in your invite.
Since I had a custom background from Canva, I chose a blank card. Another easy way to set up your card is to choose one of the pre-set themes (including the “romantic” themes) within the Mimeo Photos app.
By default, your photo or photos will auto-populate and the fonts and colors will already be chosen. All you have to do is customize it with your information. You can go a step further in personalizing your card by changing the pre-set fonts and background colors.
Edit Your Card in Mimeo Photos
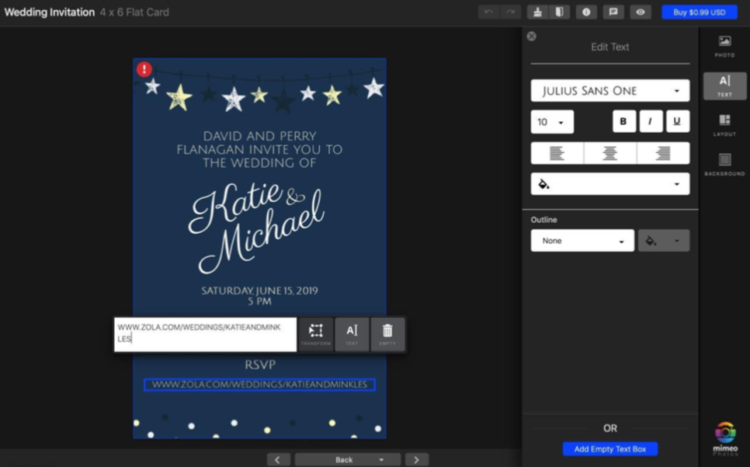
Even if you choose a theme, you’ll want to do some editing to personalize your invitation. In my case, I first added my photo backgrounds to each side of the card. Then I added text boxes. In each box, I edited the text itself, the font, font size, and color.
Then I used “transform” to move each text box and picture into exactly the right spot.
Get Approval of Your Wedding Invitation!
This is a best practice for any group project but especially for your wedding, when you have so many stakeholders. I sent my fiancee and parents screenshots of both sides of my invitation in Mimeo Photos before finalizing.
And good thing I did -- in the first draft, I forgot to say it was a wedding!

Place Your Order
Once everyone has approved your design, you simply need to add your project to your cart and check out.
That’s how easy it is to create personalized wedding invitations in Mimeo Photos! Check below to see how my invitations turned out as I unboxed them!
