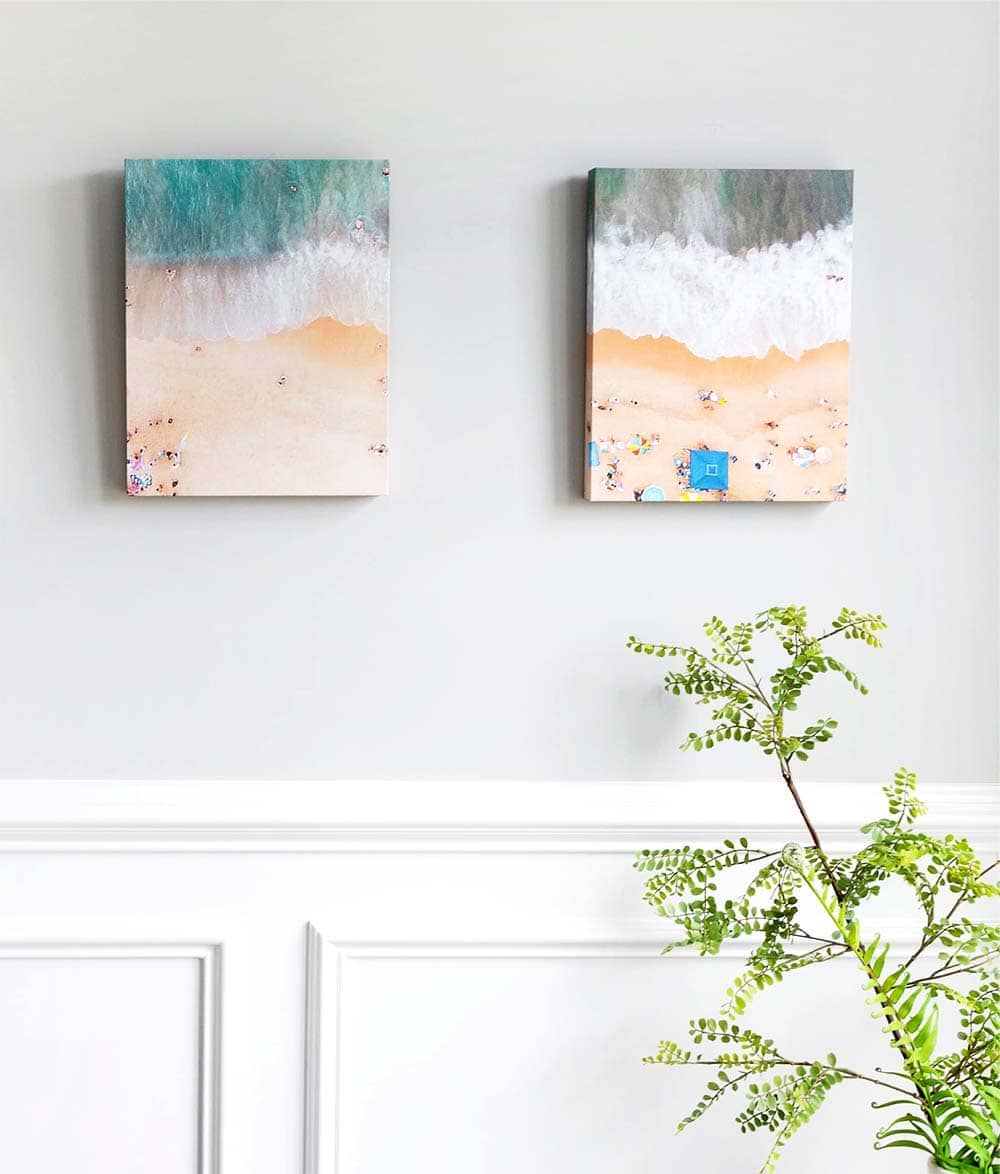
If you love the beach, it's natural that you'll want to share photos of your experiences with your friends or remember your favorite moments long after your vacation is over. But capturing the beauty of the beach in photographs is not always easy. You may enjoy the sunshine, water, and and, but your camera doesn't take the best photos in those conditions. Here are some beach photography tips sure to make your next photo session produces quality photographs.
1. Always Shoot In RAW
The two main photo formats available on a digital camera are JPG and RAW. RAW is an uncompressed version of an image file. Every camera manufacturer has its own type of RAW file format. When you shoot in RAW, you keep all the image's data. That means you can more easily edit your photos in post-processing.
Shooting water and sunshine takes a tremendous amount of skill. Shooting in RAW will allow you to fix the over and underexposure that results in poor photographs.
Try experimenting with different RAW processing software to find one that suits your editing style, as Adobe Lightroom, Capture One, and DxO PhotoLab are popular options. Remember that shooting in RAW files consumes more storage space compared to JPEG, so ensure you have enough memory cards or storage space available.

2. Choose a Focal Point
Although you might enjoy watching the waves crashing onto the shore, it may not make the best photograph. The reason? There's no focal point. A focal point can be something as simple as a chair or a shell. It draws the viewer's attention and provides a context for the shot. It tells a story and keeps things interesting. Try focusing on a focal point in some of your nature shots and notice the difference.
Additionally, experiment with different angles and perspectives to highlight your chosen focal point and create visually compelling compositions.
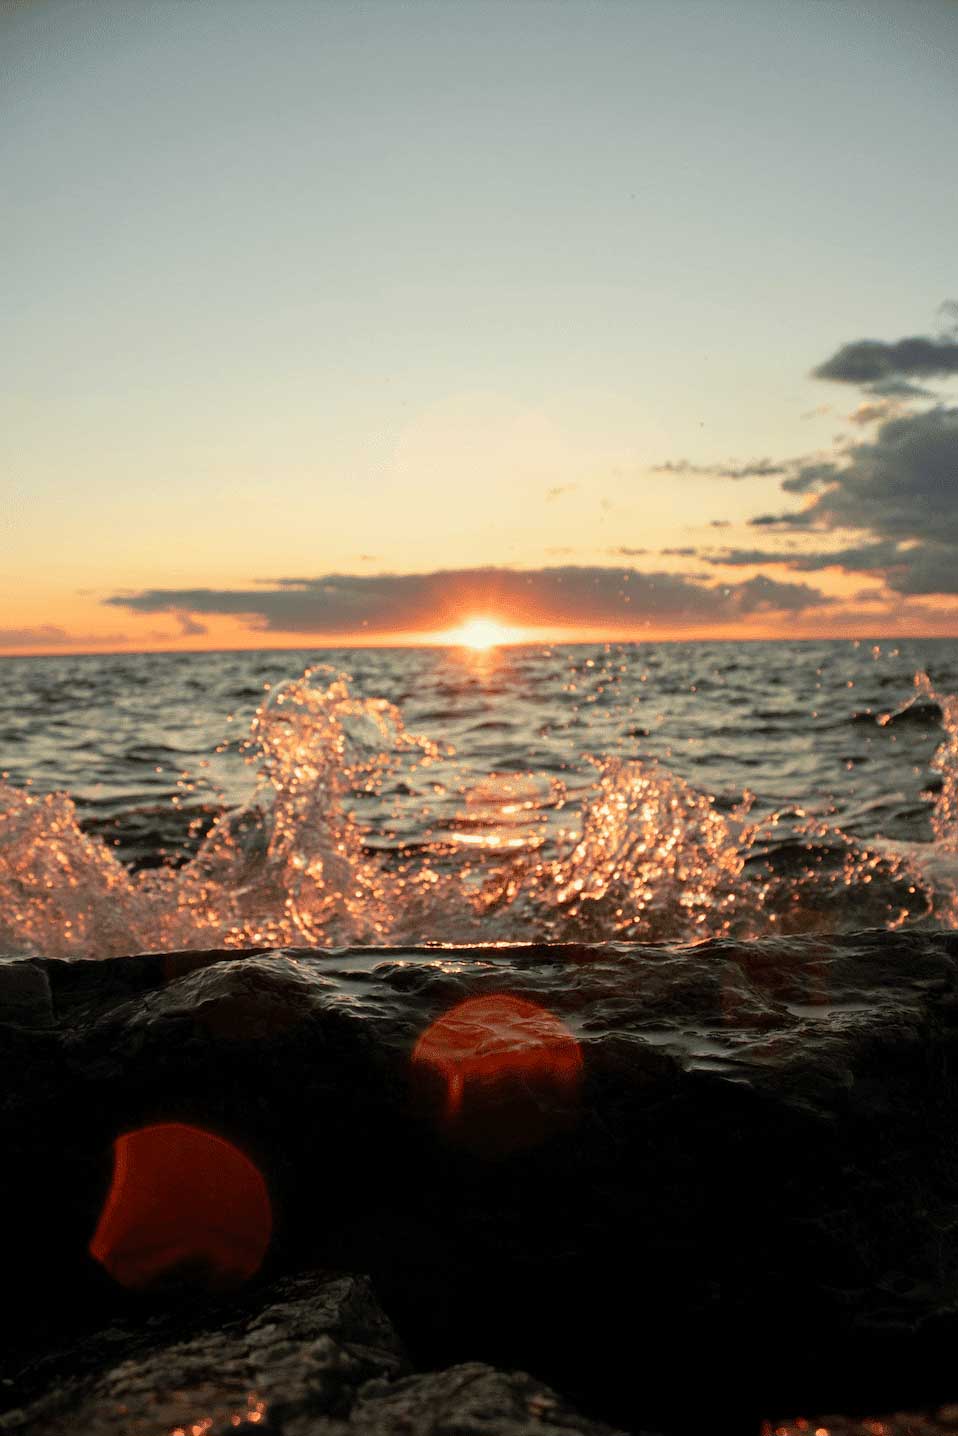
3. Use the Golden Hour: Shoot at Sunrise or Sunset
You probably love watching the sunrise or sunset at the beach, and it turns out that those "golden hours" are also the best times for taking photos. "Golden hour" is the time shortly after sunrise and shortly before sunset when the sky is redder and softer than when the sun is up. At this time of day, photos are less likely to come out overexposed. Photographers consider it the most desirable time of day for nature photography.
Plus, you might get the beach to yourself!
Be sure to utilize the warm, soft light of the golden hour to capture stunning silhouette shots of beachgoers or coastal landscapes. Don't limit yourself to traditional sunrise and sunset shots; explore the transitional phases of dawn and dusk for unique lighting effects.
4. Printing and Sharing Your Photos
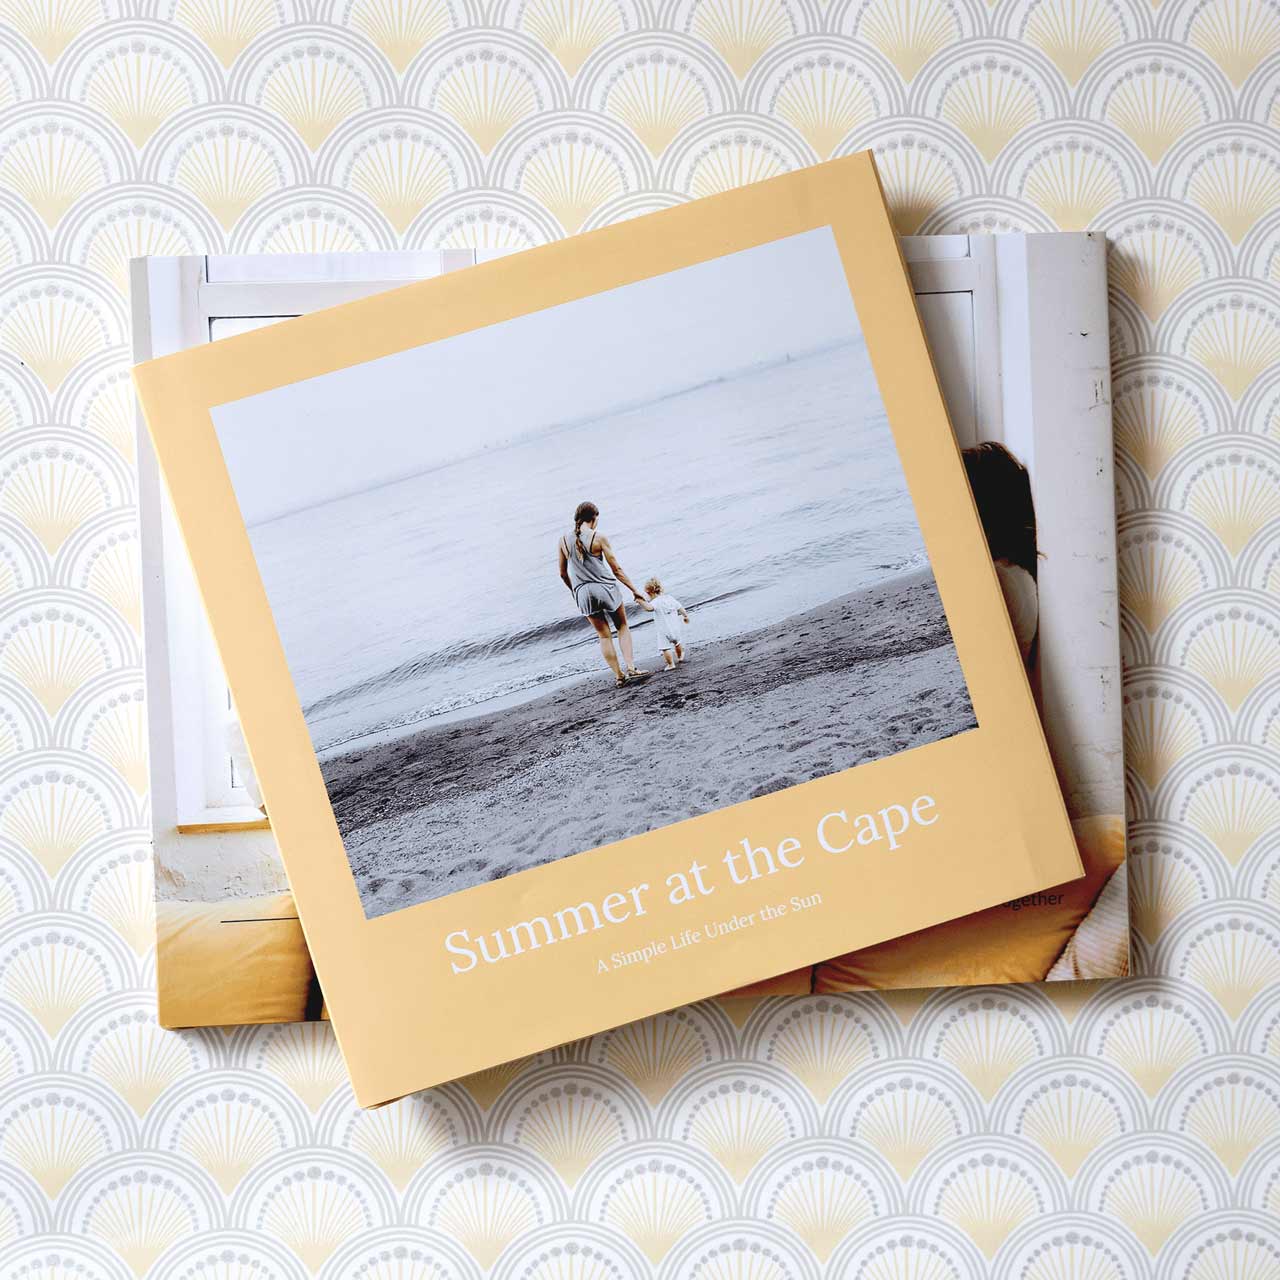
Don't just take great photos, turn them into something you can hold onto for a lifetime. Mimeo Photos can help you create the perfect keepsakes after your trip. Our custom photo books make great mementos for yourself or gifts for your family members. You can customize everything, from the layout to the cover photo. Choose your best, most scenic shots for the cover. Your best photos deserve to be seen.
Opt for photo decor that best displays single snapshots. Acrylic prints bring out bright, bold colors in your photos, making this format ideal for an exquisite sunrise. Canvas prints are better for subdued colors or landscapes since they can appear to mimic oil paintings. Metal prints provide a sleek, trendy alternative to acrylic wall art.
No matter which product you choose, with our beach photography tips, your photos will be worthy of displaying in no time.
5. Bring an Air Blower and Lens Cloths
Sand and expensive camera gear do not go well together -- especially when it comes to precious lenses and sensors. Consider purchasing a quality air blower and some lens cloths for your camera bag. These tools help you keep pesky sand and dust off your equipment. If you clean your lens regularly, you'll edit out fewer water droplets and sand specks later.
Additionally, invest in a waterproof camera bag or protective casing to shield your gear from sand, saltwater, and other environmental hazards. Also, use a lens hood or UV filter to add an extra layer of protection to your lens against sand and water splashes.
6. Use a Tripod
By utilizing a quality tripod, you can capture a longer exposure with a slower shutter speed. This technique can transform moving water into a dreamy, smooth texture and capture the fluidity of clouds against a vast sky.
Tripods also assist in low light, when you're more likely to take blurry images. Take one with you when you watch the sunset. If you're planning to be in your beach photos, a tripod lets you set up your camera and capture shots without relying on someone else to take the photo.
Experiment with different tripod heights and angles to find the most visually appealing perspective for your beach compositions. Additionally, consider investing in a lightweight and portable travel tripod for ease of transport during beach photography sessions.
7. Use Polarizing Filters
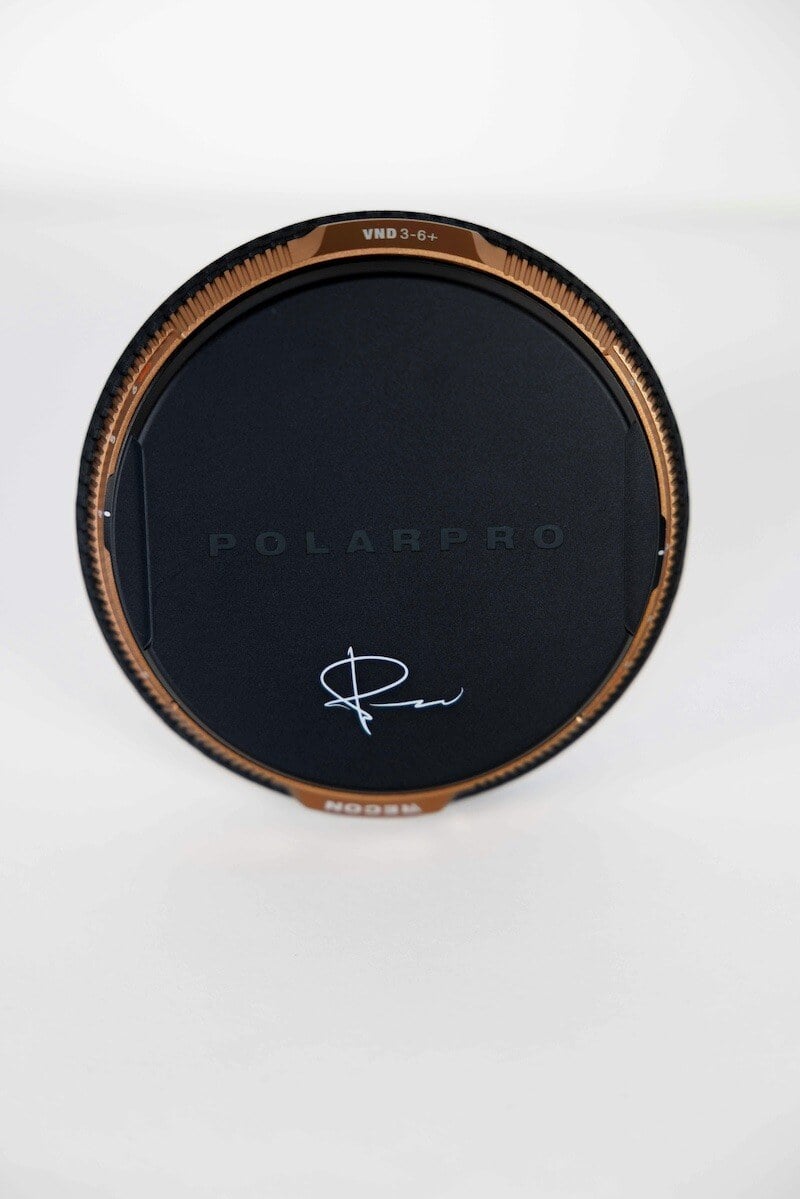
Polarizing filters enhance blues, darken shadows, and suppress glare from reflective surfaces. The beach isn't just about soaking up rays; it's about the play of light and shadows, the way the sun paints the sand with different strokes. Polarizing filters crank up the contrast, giving shadows a more dramatic flair.
Try adjusting the orientation of the polarizing filter to maximize its effect on reducing reflections and enhancing colors in your beach scenes. Be mindful of potential vignetting when using polarizing filters, especially with wide-angle lenses, and adjust accordingly during post-processing.
It's a worthwhile investment -- especially if you're doing middle-of-the-day shoots -- that can transform your beach photography. If you're not taking photos during the "golden hour," consider using a polarizing filter to prevent overexposure and enhance colors.
8. Play With Shutter Speed
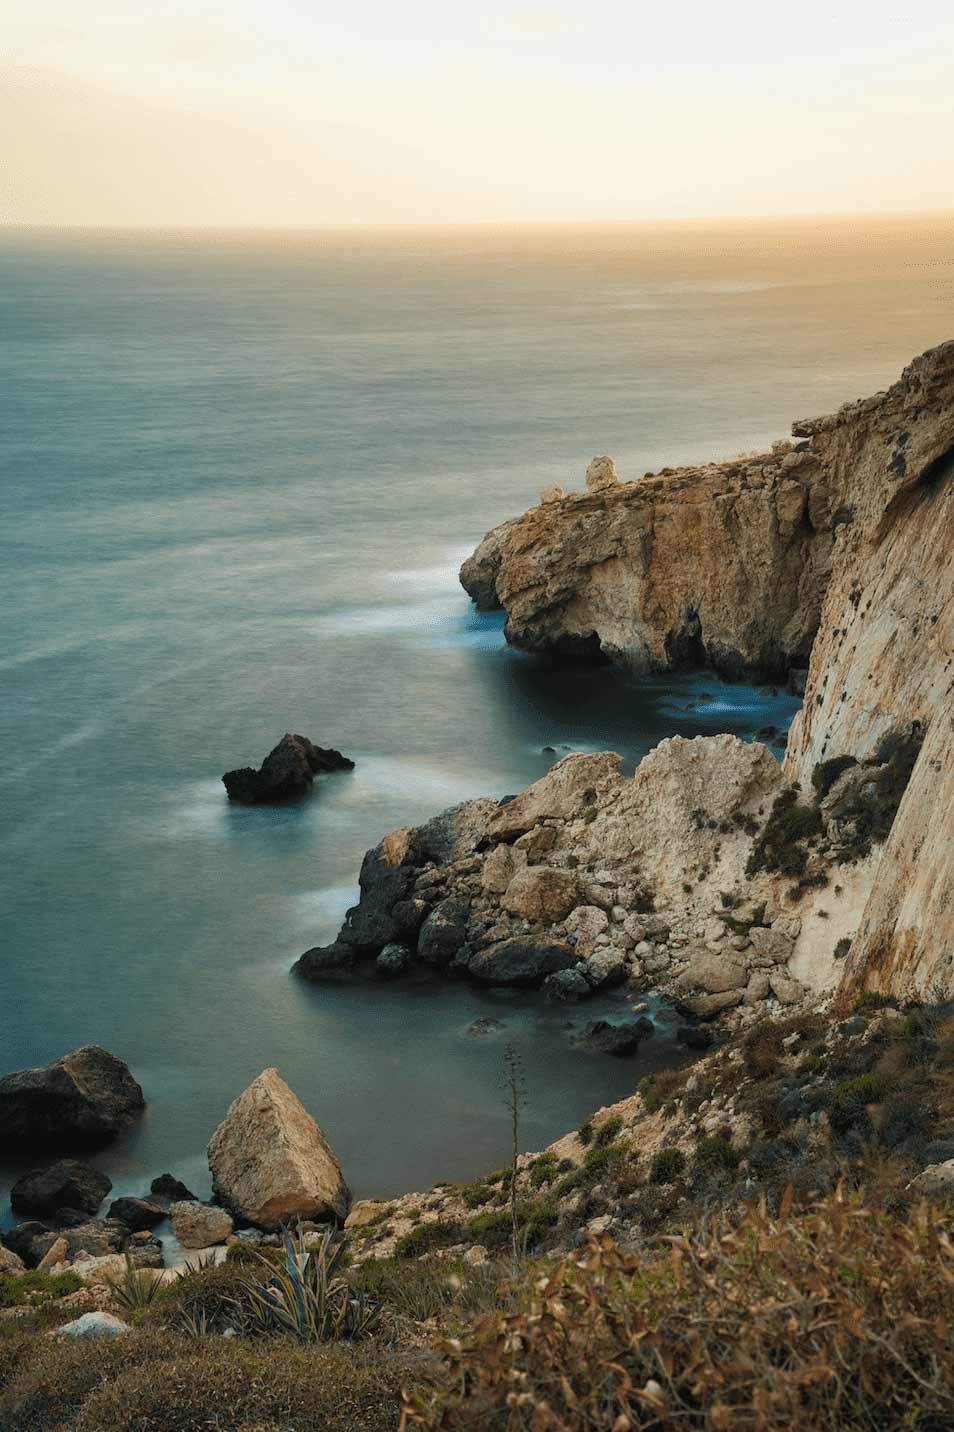
Shutter speed can seem like a puzzle, a secret language that only photographers understand. But the key lies in its simplicity. Grab your tripod and manipulate shutter speed to "slow down" the appearance of water and clouds. If you have a focal point (an empty beach chair, a rocky jetty), you can create all kinds of cool movement effects around it. As you slow down time, the surrounding water and sky becomes the "moving" aspect of your image. The result? A photograph that's not just about the focal point, but about the symphony of motion around the object.
Think of shutter speed as the curtain that opens and closes to capture light and motion. Set it to around 30 seconds, and watch as water transforms into a fluid masterpiece, where the water should blur completely.
9. Use a Wide-Angle Lens
Professional landscape photographers use wide-angle lenses to make the foreground seem bigger, drawing the viewer in and creating a sense of depth. The wide focal range emphasizes objects in the foreground and creates a sense of depth that other lenses cannot match.
In practical terms, a wide-angle lens makes the foreground seem bigger. This perspective draws the viewer into the image and helps you create depth. Follow the wide-angle lens rule of "low and close" -- capture the focal point in the foreground as close and as low as possible.
For example, if you want to take a shot of the mountains in the distance, you can capture the entire range without moving further away from it.
10. Capture Sun Stars
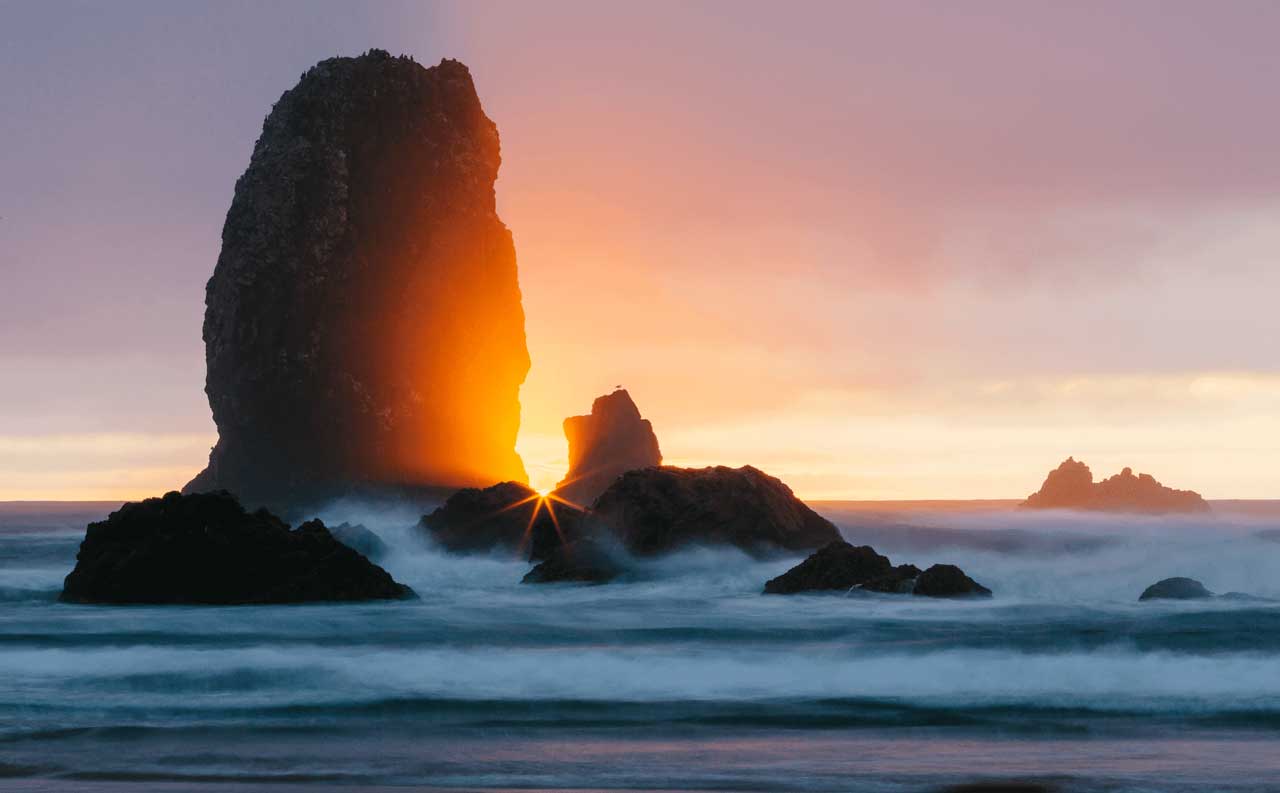
Sun stars happen when you set your lens aperture to around f/11 or smaller and take photos where the sun is partially in view. The actual effect occurs because the light of the sun is "split" across the blades of your particular lens' aperture -- that's why not all sun stars look the same.
Here's a creative twist – lens filters can amplify the enchantment of sun stars. Filters like star filters or cross-screen filters enhance the effect, this is where technology becomes your artistic ally, helping you achieve the sun star effect in every shot.
11. Compensate for Exposure
Your camera might underexpose your beach photos if the sun, sky, and sand appear to be too bright. If you're shooting in RAW, manual mode, check the dial on the camera's right side for the Exposure Compensation feature. Every modern camera has this -- check for a dial on the right side of the camera -- and the benefits are hard to top.
Modern cameras are brilliant devices, but beaches are tricky subjects. There's a lot of complicated lighting going on, especially if you're photographing during the golden hour. A camera might automatically underexpose your beach photo if the sun, sky, and sand appear to be too bright. This would render your focal point far too dark -- no good!
Instead of letting the camera decide, try utilizing your Exposure Value (EV) dial. Think of the EV dial as an override for your camera's meter. Upping the EV (say, to +1) will brighten the image. Lowering it (-1, -2, and so on) will darken the photograph.
12. Stage Your Shots
You may have already chosen the perfect beach location, but you can still take your photos to the next level. Bring along several beach supplies that match well with the aesthetic you’re aiming for. You can arrange items like towels, sandals, beach balls, sunglasses, or a gorgeous printed beach umbrella for a stylish finishing touch to your photos.
Plus, you can even use the beach umbrella to get some shade in between taking shots. For more unique shoot themes, try and go beyond the usual beach colors like sailor-inspired red and blue stripes or rainbow beach balls and umbrellas. Don’t be afraid to experiment with a more muted palette, neon colors, or even a chic black and white theme.
13. Make the Most Out of Your Smartphone
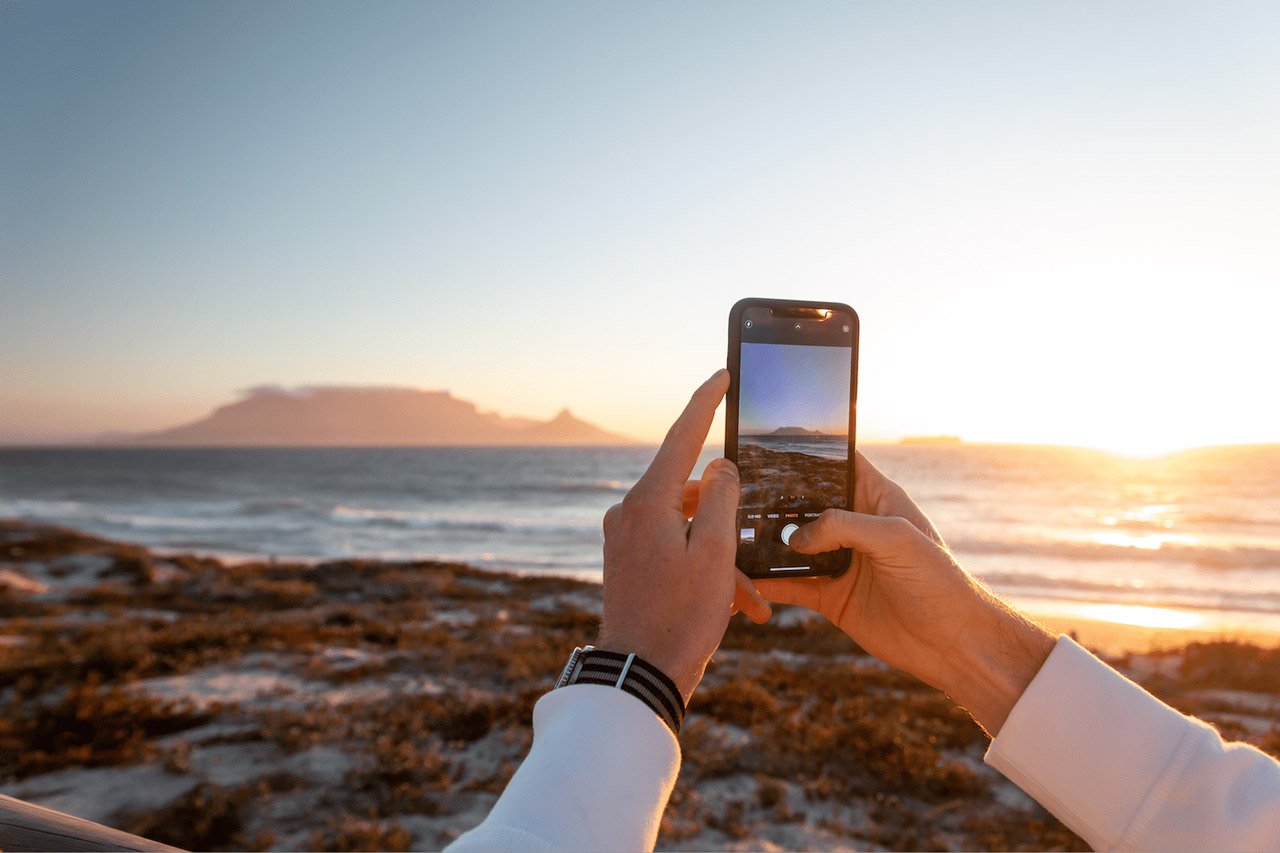
If you don't have fancy equipment, don't worry! Your phone camera can take amazing beach photos. For better-quality photos, use a tripod instead of just pointing and shooting, and keep your lens clean. Take advantage of your phone's built-in autofocus. All it takes is one tap on the photo's subject to focus and correct the exposure on most phones.
Aperture size is usually fixed, so you're down to ISO and Exposure Time as two flexible variables to control exposure.
As a general rule, avoid relying on high ISO values to brighten up your shot. The higher the ISO, the more 'noise' in the photograph. Of course, each phone will be different – feel free to take multiple test shots – but a little experimentation will pay off handsomely. Playing around with some photo editing apps is worth a shot as well!
Bonus tip: Don't rely on autofocus. All modern smartphone cameras let you set the autofocus area by touching the screen. The more your subject is in focus, the better!
Create Something Special
Ready to turn your beach photos into a keepsake? Get started creating a photo book, calendar, or decor item now!

