Summer is a season of sunshine, laughter, and unforgettable moments with family. Whether it’s beach trips, backyard barbecues, or road trip adventures, these moments deserve to be cherished. Creating a family yearbook dedicated to your summer memories is a wonderful way to celebrate the season while preserving your family’s unique story.
A family yearbook isn’t just a collection of photos, it’s a time capsule of joy, growth, and connection. Here’s how to design one that will bring smiles for years to come.

Why Create a Family Yearbook?
A family yearbook does more than organize your photos — it transforms them into a lasting keepsake.
- Celebrate Your Adventures: Relive your favorite summer moments in one beautifully designed book.
- Strengthen Family Bonds: Involve your family in the creative process to make it a shared experience.
- Preserve Memories: Safeguard your summer stories in a durable format that can be enjoyed for generations.
Whether you display it on your coffee table or revisit it during family gatherings, a yearbook becomes a treasured part of your family’s history.
Step 1: Gather and Organize Your Photos
The first step in creating a family yearbook is collecting your summer photos.
Where to Find Your Photos:
- Phones and Cameras: Gather images from everyone in the family.
- Social Media: Download photos shared on Instagram, Facebook, or group chats.
- Printed Photos: Scan older photos or snapshots from disposable cameras.
How to Organize Your Photos:
- Sort by Event: Create folders for different summer activities, such as vacations, BBQs, or playdates.
- Choose the Best Shots: Look for photos that tell a story, show emotion, or capture key moments.
- Include Variety: Mix candid shots, posed portraits, and close-ups of details like food, sunsets, or footprints in the sand.
Pro Tip: Save your photos in high resolution for crisp, clear prints in your yearbook.

Step 2: Choose a Theme for Your Yearbook
A theme gives your yearbook cohesion and makes it visually appealing.
Popular Summer Themes:
- Adventures in Nature: Highlight hikes, camping trips, and outdoor fun.
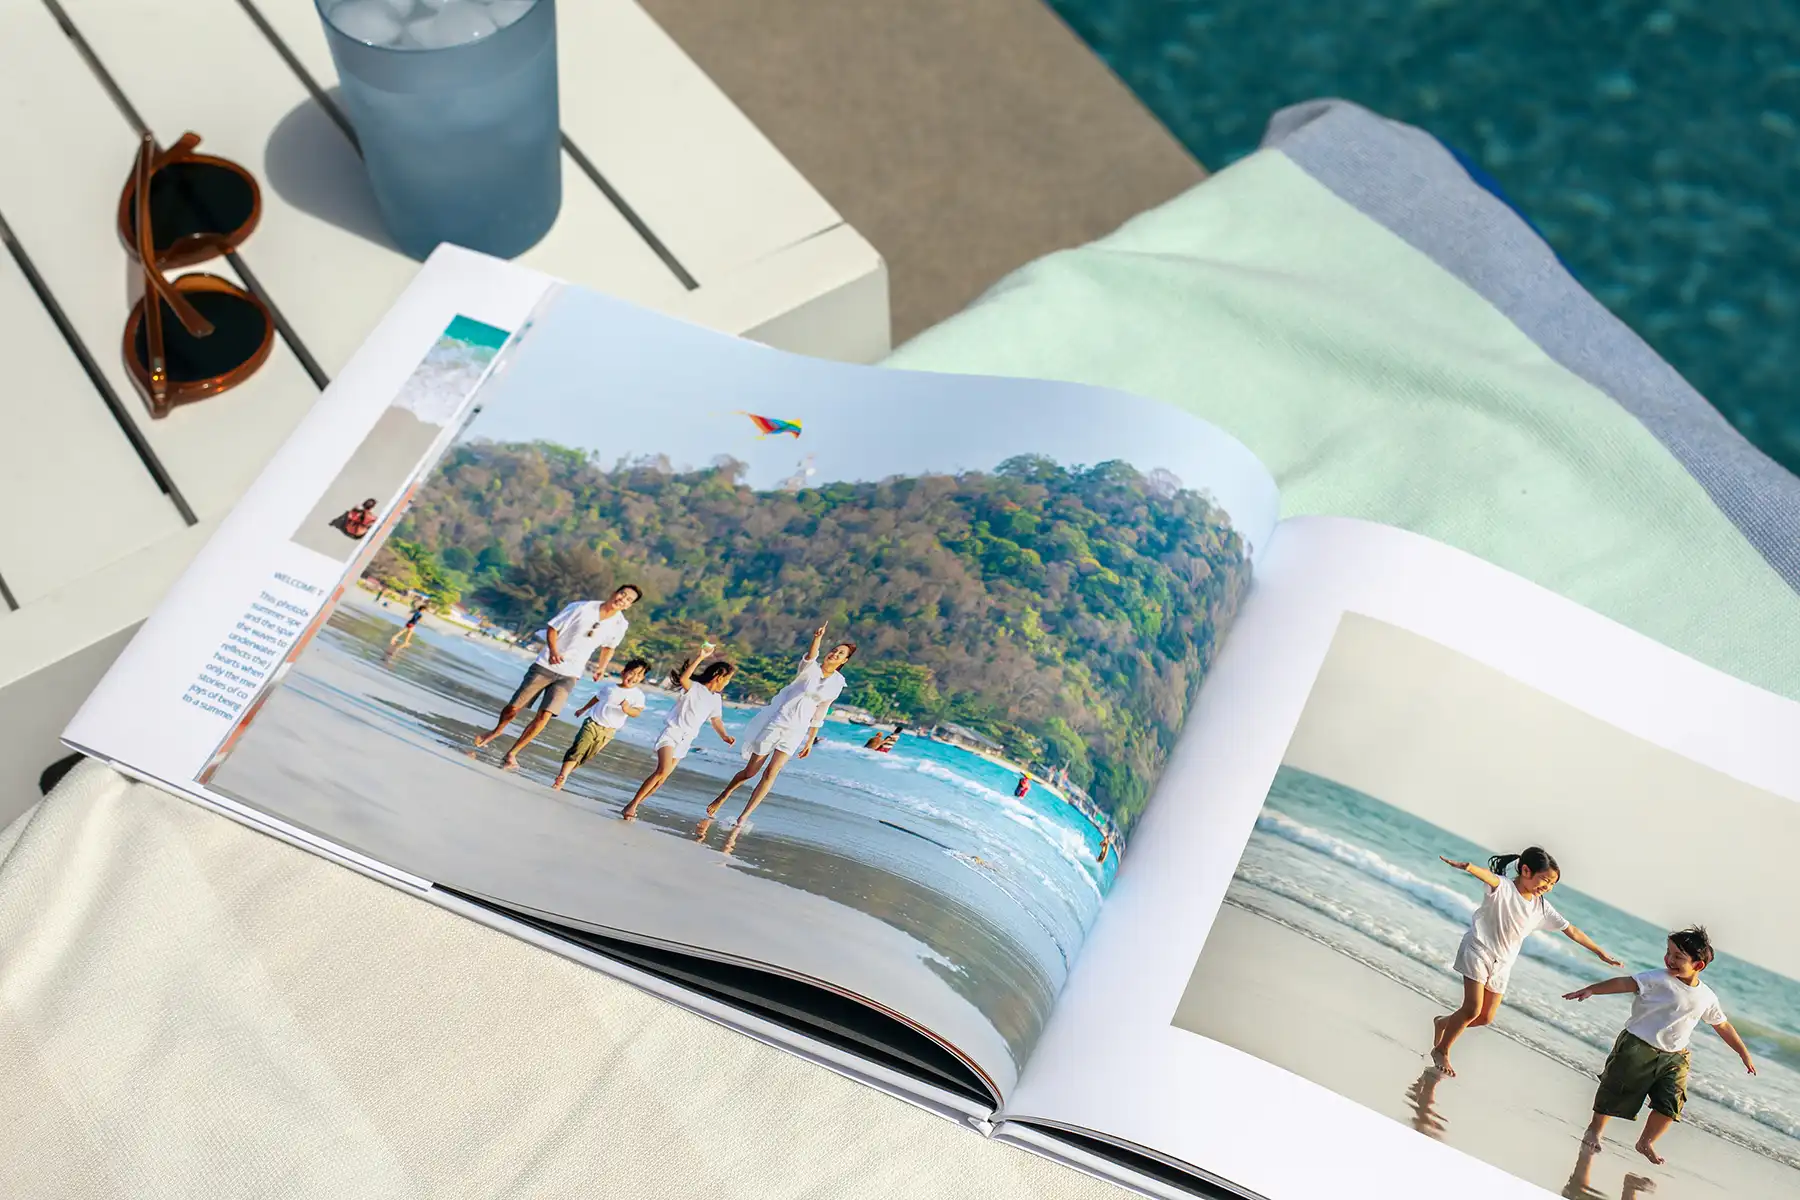
- Beach Bliss: Focus on sandy toes, ocean waves, and colorful sunsets.
- Family Fun: Include everyday moments like backyard games and picnics.
- Seasonal Highlights: Dedicate each section to a summer month—June, July, and August.
Why It Matters:
A theme ties your photos together and helps you decide on layouts, colors, and design elements.

Step 3: Design Your Layout
The layout is where your yearbook comes to life. An organized, creative design ensures your photos and memories shine.
Tips for Designing Your Yearbook Layout:
- Start with the Cover: Choose a standout photo and include a title like “Our Summer 2025 Adventures” or “Family Fun in the Sun.”
- Use Chapters: Divide the book into sections for different events or themes.
- Mix Layout Styles: Alternate between full-page images, collages, and grid layouts for visual interest.
- Include Captions: Add short captions to describe the moment, share quotes, or include inside jokes.
Pro Tip: Leave some white space around photos to create a clean, modern look that doesn’t feel overcrowded.

Step 4: Add Personal Touches
What makes a family yearbook special are the personal details that only your family can provide.
Ideas for Personalization:
- Handwritten Notes: Scan handwritten messages from family members and include them as design elements.
- Milestones: Highlight key achievements, like learning to swim, a first road trip, or a big birthday celebration.
- Kids’ Artwork: Scan and include your children’s summer drawings or crafts.
- Favorite Recipes: Feature recipes for dishes you enjoyed together, like BBQ ribs or homemade lemonade.
Why It Works:
Personal touches add emotional depth, making your yearbook a true reflection of your family’s summer.

Step 5: Highlight Your Favorite Memories
Every family has standout moments that deserve extra attention. Dedicate special pages to these highlights.
Ideas for Highlight Pages:
- Vacation Adventures: A two-page spread featuring your trip’s best moments, complete with maps or ticket stubs.
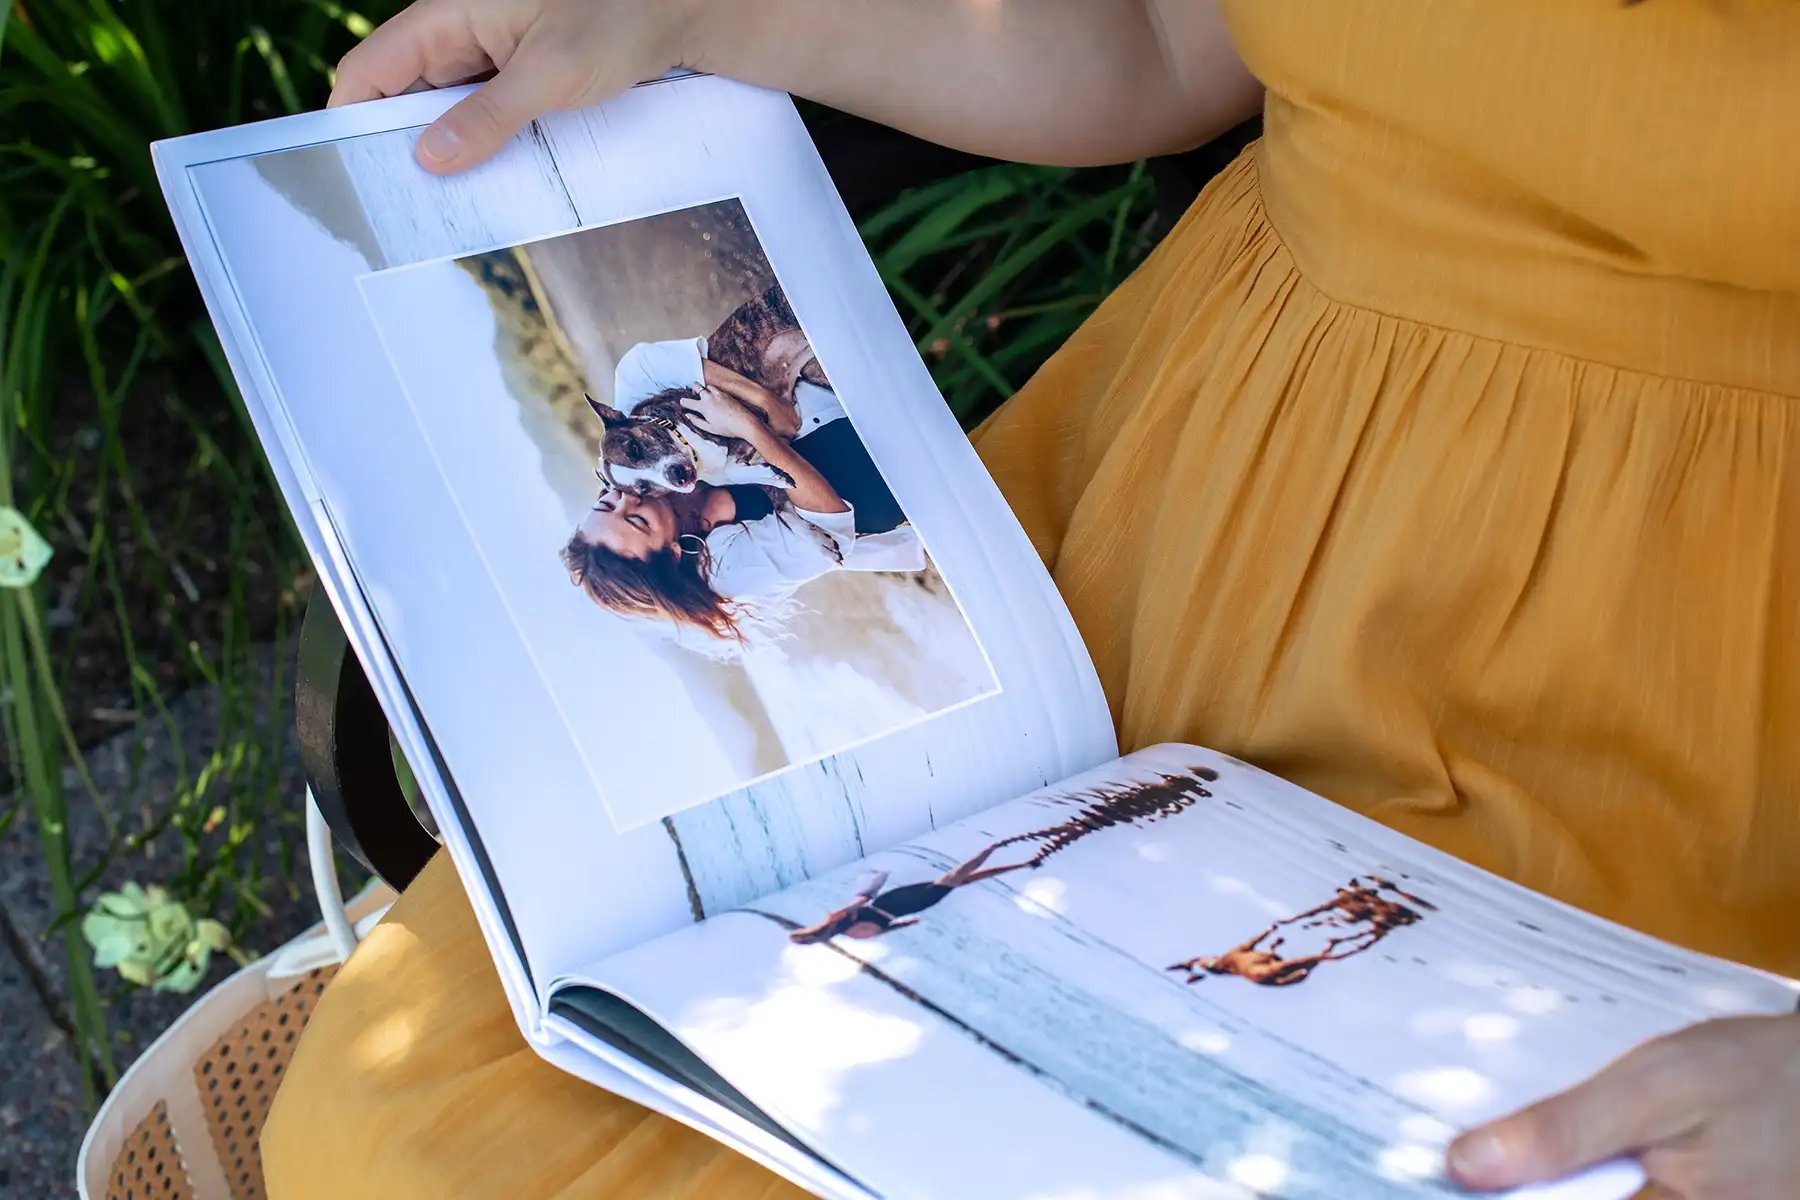
- Family Portraits: A gallery of group photos and individual shots.
- Candid Laughter: A collage of unposed, joyful moments that capture your family’s personality.
Pro Tip: Use bold headlines or decorative fonts to draw attention to these pages.
Step 6: Select High-Quality Printing
Your family yearbook deserves to look as stunning as the memories it holds. Choose a professional printing service like Mimeo Photos that offers:
- Premium Paper: Glossy or matte paper enhances the look and feel of your photos.
- Durable Binding: Layflat binding ensures that photos spread seamlessly across two pages.
- Customizable Covers: Opt for a hardcover or softcover with personalized text and design options.
Pro Tip: Preview your yearbook carefully before printing to check for typos, alignment issues, or missing photos.

Step 7: Present Your Yearbook
Once your yearbook is complete, make its debut a special occasion.
Ideas for Sharing Your Yearbook:
- Family Gathering: Share it during a family meal or summer reunion.
- Storytime: Flip through the book with your kids, reliving each moment together.
- Gifting: Surprise grandparents or extended family with their own copy as a thoughtful gift.
Why It Matters:
The way you present your yearbook adds to the excitement and emotion of revisiting your summer memories.
Why a Summer Yearbook is the Perfect Keepsake
A family yearbook isn’t just a photo album — it’s a celebration of your adventures, love, and connection. It preserves your family’s unique story in a format that you can revisit year after year.
From vacations to everyday joys, your summer memories deserve to be celebrated and shared. By creating a yearbook, you’re giving your family a timeless gift that keeps the magic of summer alive.
