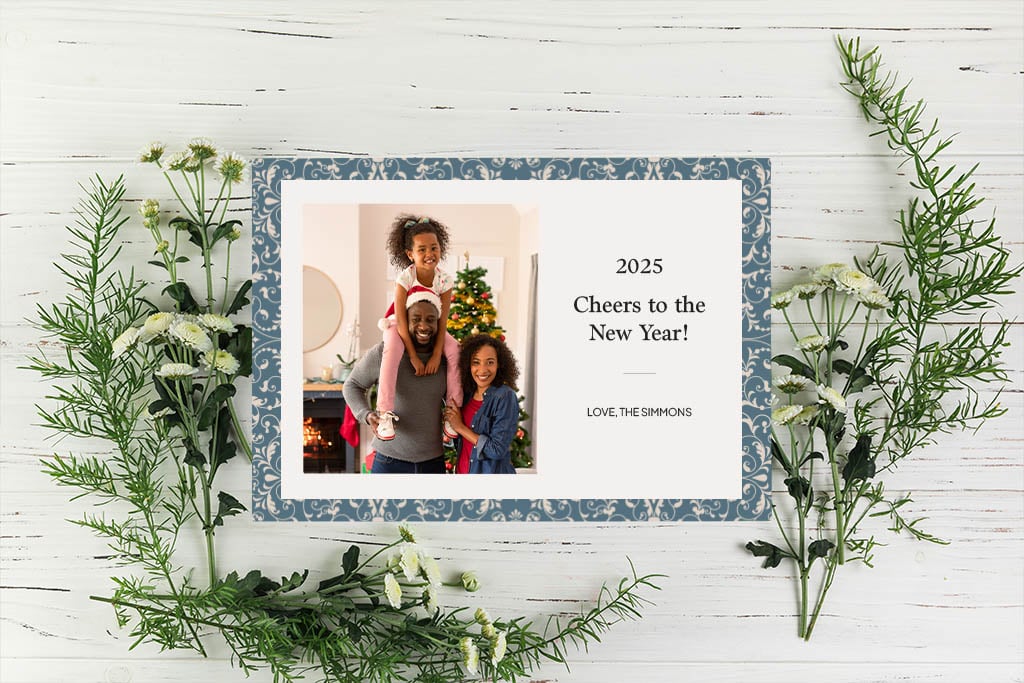
If you haven't started thinking about your holiday cards yet, now is the perfect time to get started! This year, we've designed 15 free printable cards that you can customize with your own family photos to give your holiday cards an extra-special touch.
Whether you're looking for a card for Christmas, Hanukkah, Kwanzaa, or the New Year, we've got you covered. Each free card download is available in 4x6 and 5x7 sizing and includes blank space(s) where you can add your own photo(s) and personalized text.

Create Your Card on Mimeo Photos for Mac
Step 1:
Download our free holiday card designs and choose the one you'd like to use. Each design is available as a 4x6 or 5x7 card.
Step 2:
Add the holiday card design you've selected to your Photos library on your Mac, then right click on the image and choose Create > Card > Mimeo Photos. Choose whether you want your card to be flat or folded, then select the size and finish you'd like for your card, and click the Create button to get started designing!
Step 3:
Next, you'll select a theme for your card. Since you're using one of our free downloadable designs, you'll want to select the Blank theme.
Step 4:
When you arrive in the designer, click the Photo icon in the right hand toolbar. Drag the image of the design on to your card, then with the photo still selected, click the Background icon. This will ensure the full design takes up the entirety of your card.
Step 5:
Now you can add your own photo(s) to the card by finding the images in your Photos library and dragging them to your project in the My Projects section on the left hand side of your screen. When you add your photo to the card, you can resize it to fit over the photo placeholder.
Step 6:
To further customize your card, you can add text by clicking on the Text icon in the right hand toolbar. Click the Add An Empty Text Box button, type in your text, and move to the area of your card where you'd like the text to appear. Choose from an assortment of fonts and colors to personalize the look and feel.
Step 7:
Further customize the back of your card by adding more photos, text, and changing the background color. Once it's the way you'd like for it to look, you can preview it by selecting the Preview button on the top of your screen. Then, click Buy and you can order as many cards as you need! Each card comes with a white envelope that's ready to be addressed and sent to your friends and family.
Create Your Card on the Web with Mimeo Photos
Step 1:
Download our free holiday card designs and choose the one you'd like to use. Each design is available as a 4x6 or 5x7 card.
Step 2:
Visit the Photo Cards section of the Mimeo Photos website and select either a folded card or flat card. Choose the size and finish you'd like for your card, and click the Create button to get started designing!
Step 3:
Give your project a name, then you'll select a theme for your card. Since you're using one of our free downloadable designs, you'll want to select the Blank theme.
Step 4:
When you arrive in the designer, click the Photo icon in the right hand toolbar. Click the Upload Photos button to upload the free card design you've selected, along with any additional photos you plan on adding to your card. Then, drag the image of the design on to your card, and with the photo still selected, click the Background icon. This will ensure the full design takes up the entirety of your card.
Step 5:
Now you can add your own photo(s) to the card by clicking the Photo icon and dragging them to your card, where you can resize them to fit over the photo placeholder(s).
Step 6:
To further customize your card, you can add text by clicking on the Text icon in the right hand toolbar. Click the Add An Empty Text Box button, type in your text, and move to the area of your card where you'd like the text to appear. Choose from an assortment of fonts and colors to personalize the look and feel.
Step 7:
Further customize the back of your card by adding more photos, text, and changing the background color. Once it's the way you'd like for it to look, you can preview it by selecting the Preview button on the top of your screen. Then, click Buy and you can order as many cards as you need! Each card comes with a white envelope that's ready to be addressed and sent to your friends and family.


